
Gluten Free Chocolate Cheesecake
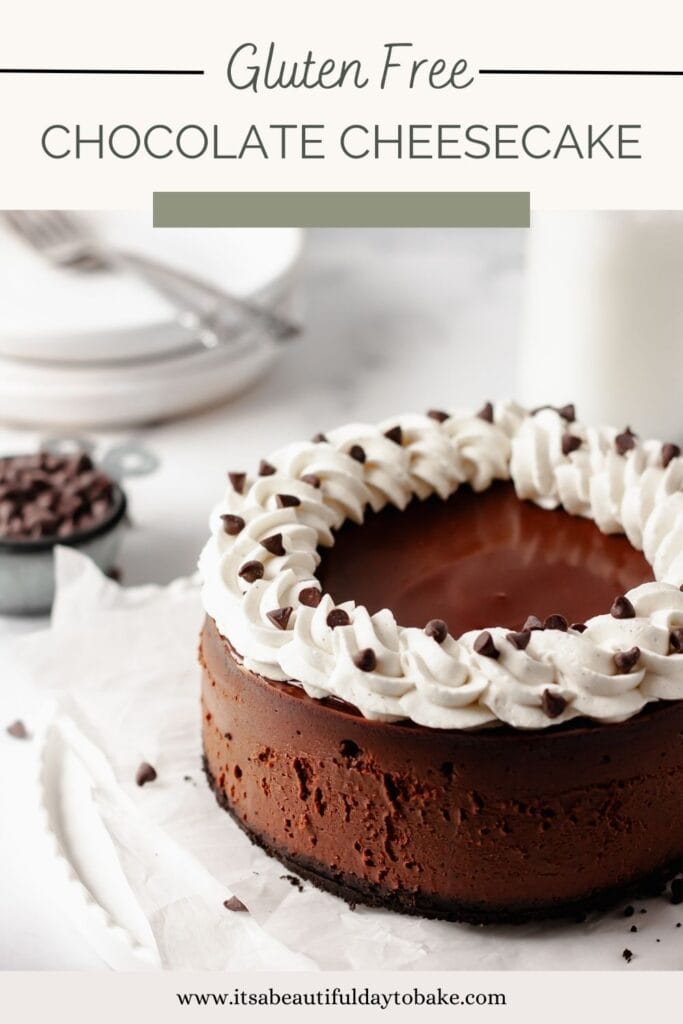
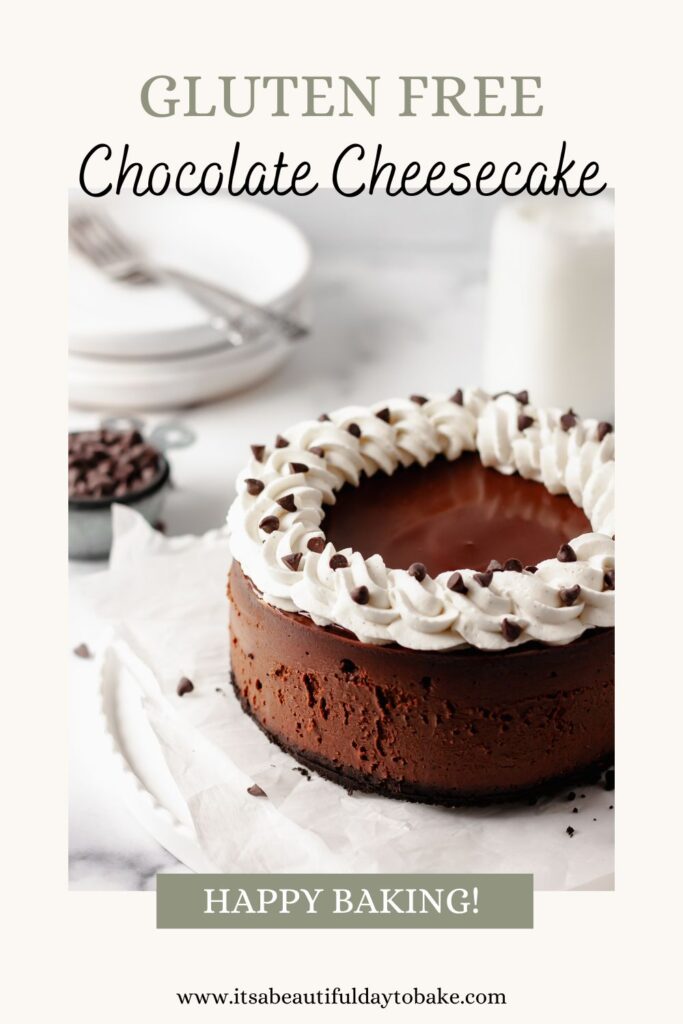
Hey there, sweet-toothed friends! If you’re anything like me, the mere mention of chocolate and cheesecake in the same sentence is enough to make your taste buds do a happy dance. Now, imagine a scenario where that heavenly combo comes together in a gluten-free masterpiece that’s as indulgent as it is inclusive. Today, I’m excited to share a recipe that’s been a game-changer in my kitchen – a luscious Gluten Free Chocolate Cheesecake that’ll have you convinced that dessert dreams really do come true.
This post may contain affiliate links, which means I’ll receive a commission if you purchase through my links, at no extra cost to you. Please read full disclosure for more information.

Ingredients for Gluten Free Chocolate Cheesecake
Alright, let’s break down the dream team of ingredients that will make our Gluten Free Chocolate Cheesecake a legendary dessert!
Gluten Free Oreo Crust
Gluten-Free Oreo Crumbs: These little crumbs of joy form the base of our cheesecake, bringing that classic chocolatey crunch without the gluten. They set the stage for the indulgence that follows.
Butter: the deliciousness that binds our crumbs together, butter adds a rich, savory note to the crust, ensuring it’s not just a crispy foundation but a flavor-packed one too.
CHocolate Cheesecake
Cream Cheese: The creamy superstar of our show, cream cheese provides the luxurious, velvety texture that makes cheesecake a beloved treat.
Granulated Sugar: Sweetens the deal, balancing the tanginess of the cream cheese and enhancing the overall richness of the dessert.
Salt: A pinch of salt enhances the sweetness and chocolatey goodness, elevating the flavor profile.
Cocoa Powder, Dutch Processed: The chocolatey essence that gives our cheesecake its decadent flavor. Dutch-processed cocoa brings a deeper, more intense chocolate taste.
Espresso Powder (Optional): For the bold flavor enthusiasts, espresso powder adds a subtle kick, intensifying the chocolate without making it taste like a cup of coffee.
Whole Egg and Egg Yolk: These bind everything together and contribute to the creamy texture, creating a harmonious balance in our cheesecake.
Vanilla Extract: A dash of vanilla adds a hint of warmth and sweetness, enhancing the overall flavor profile.
Heavy Cream: The secret to that melt-in-your-mouth creaminess. Heavy cream ensures our cheesecake is rich, smooth, and downright irresistible.
Dark Chocolate Chips: Because there’s no such thing as too much chocolate! Adding melted chocolate to this batter adds that extra chocolatey goodness and that delectable richness to this cheesecake.

Tips for Success!
Okay friends, if you’re ready to become confident in your cheesecake baking skills I am giving you the BEST tips and tricks for your Gluten Free Chocolate Cheesecake to come out PERFCET!! EVERY. SINGLE. TIME!!!!!
VERY IMPORTANT TIPS:
- Use High-Quality Cream Cheese: opt for a good-quality cream cheese that is naturally gluten-free. It will ensure a smooth and creamy texture in your cheesecake filling.
- Use Room Temperature Ingredients: Make sure all the ingredients, ESPECIALLY the cream cheese, eggs, and sour cream, are at room temperature. This will ensure easy mixing and a smoother texture in the final cheesecake.
- Mix on a Low Speed: this is SO IMPORTANT!! When combining the ingredients, use a low speed on your mixer. This will prevent excess air from being incorporated into the batter, which can cause the cheesecake to rise while baking and then sink down (creating a crater) while cooling AND also cause cracks to form during the baking and cooling process.
- Bake with a Water Bath: To prevent the cheesecake from cracking and ensure even baking, consider using a water bath. Place the cheesecake pan in a larger pan filled with hot water while baking. The steam created will help maintain a moist environment in the oven allowing the cheesecake to bake evenly.
- Cool the Cheesecake SLOWLY: After baking, allow the cheesecake to cool gradually. Start by turning off your oven and leaving the cheesecake in the oven for an hour while the oven cools down after baking (DO NOT open the oven door, trust the process). Next, remove it from the oven and let it sit at room temperature for about an hour. Then refrigerate it for several hours (about 4-6 hours) or overnight to ensure it sets properly.
More helpful Tips
- Prebake the Crust: this will help set it and prevent it from becoming soggy when combined with the filling. Bake it in the oven for 10-15 minutes before adding the cheesecake filling. Check out my video about How to Properly Prep your Cheesecake Pan (spring form pan) for Baking in a Water Bath! Doing this will help keep your cheesecake crust from getting soggy and help with easy removal from the pan after baking.
- Chill Before Serving: For the best texture and flavor, refrigerate the cheesecake for at least 4-6 hours or overnight before serving. This will allow the flavors to meld together and the cheesecake to fully set.
- Thoroughly Crush the Gluten-Free Graham Crackers: When making the crust, make sure to finely crush the gluten-free graham crackers. The finer the crumbs, the better the crust will hold.
- Get Creative: Gluten Free Chocolate Cheesecake is the blank canvas to baking fun! Add some crushed cookies to the cheesecake before baking, or a swirl of salted caramel! Or switch up the toppings like fresh fruits or nuts. The possibilities are ENDLESS, so have fun with it!

Frequently Asked Questions
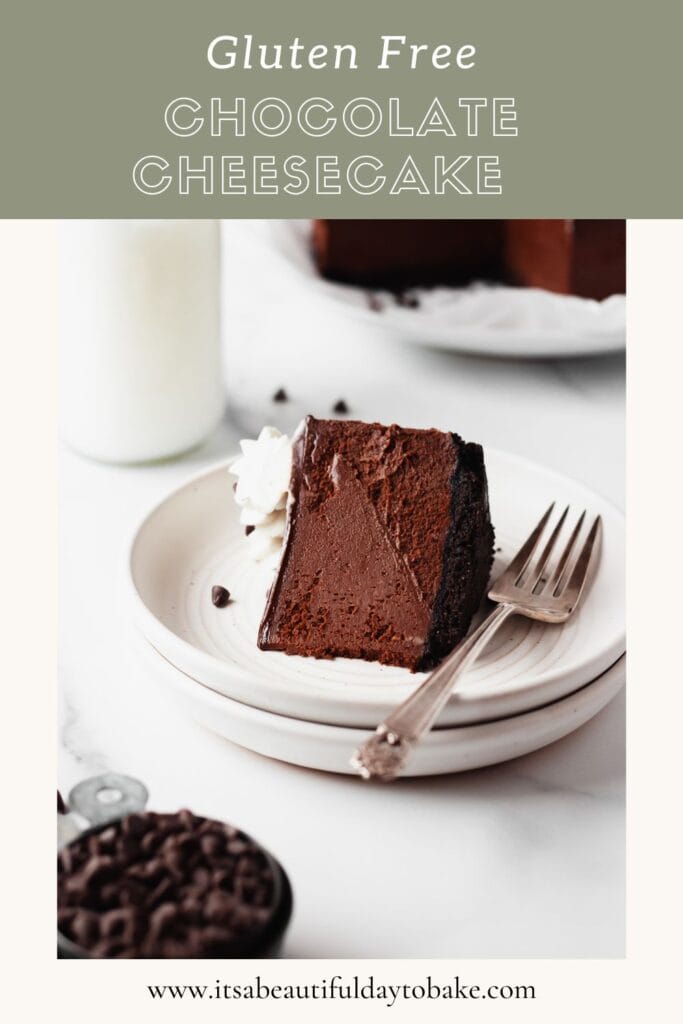
What is Chocolate Cheesecake made of?
Indulge in the decadent embrace of chocolate cheesecake, where a divine cookie crust cradles a luxurious chocolate cheesecake base. In this case for our Gluten Free Chocolate Cheesecake we’re using Gluten Free Oreo’s! The symphony of flavors within includes the creamy richness of cream cheese, sugar, a pinch of salt to elevate, eggs, vanilla, and the deep, cocoa magic. A lavish pour of heavy cream and an extra drizzle of melted chocolate complete this heavenly ensemble. And here’s where the magic happens – feel the freedom to weave your own culinary tale. Switch up the crust with different cookies, play with tantalizing toppings, or dance with creativity by swirling in extra Oreo cookie pieces. The possibilities are as boundless as the joy this chocolate cheesecake promises!
How to keep cheesecake crust from getting soggy?
Here is a list of a few ways to keep your crust from getting soggy:
- Pre-bake the crust for 10-15 minutes before adding the cheesecake batter.
- Brush an egg wash to the top of the cheesecake crust before adding the batter. This creates a protective barrier between the crust and the batter.
- Let the crust cool completely before adding the cheesecake batter.
- Wrap the bottom of the spring form pan with tin foil and/or an oven roasting bag before placing it in the water bath. If you bake cheesecake often, I HIGHLY recommend getting a Silicone cheesecake Sleeve!
- Allow the cheesecake to cool gradually.
How to prevent a cheesecake from cracking?
There are many ways to prevent your cheesecake from cracking but the most important ways to prevent this from happening is using room temperature ingredients, mixing the batter at a low speed, and SLOWLY cooling the cheesecake. Below is a more in-depth explanation for each of these plus a few extras!
- Use Room Temperature Ingredients: Make sure all your ingredients, particularly the cream cheese, eggs, and sour cream, are at room temperature before starting. This helps to ensure a smooth and uniform mixture. This will also help when it comes to mixing the batter at a low speed.
- Don’t Overmix: Mix the cheesecake batter on low speed, just until all the ingredients are well combined. Overmixing or mixing at a higher speed can introduce excess air into the batter, causing the cheesecake to rise during baking and then fall/sink down (creating a crater) while cooling which will then lead to cracks in the top of your cheesecake.
- Gradually Cool the Cheesecake: Once the cheesecake is done baking, turn off the oven and leave the cheesecake inside the oven for an hour while the oven is slowly cooling down. This gradual cooling process helps to minimize sudden changes in temperature that can cause cracks. If the cheesecake cools down too quickly (i.e., moving from an extremely warm environment to a cooler environment), the heat from the cheesecake is forced to quickly escape causing the crack to form from said heat trying to escape.
OTHER WAYS TO PREVENT CRACKING;
- Use a Water Bath: Consider using a water bath when baking your cheesecake. Wrap the bottom of your springform pan with aluminum foil to prevent water from seeping in. Place the pan in a larger baking dish or roasting pan with a kitchen towel in the bottom and fill it with hot water, ensuring it reaches about halfway up the sides of the pan. The water bath creates a moist environment and helps prevent the cheesecake from drying out and cracking. This also creates an environment for even baking.
- Avoid Overbaking: Keep a close eye on your cheesecake while it’s in the oven and avoid overbaking. Overbaking can cause the edges to dry out and crack. The center of the cheesecake should still have a slight jiggle when you gently shake the pan. It will continue to set as it cools.
By following these steps, you can significantly decrease the chances of your cheesecake developing cracks.
How do I know when my cheesecake is done?
Knowing when a cheesecake is done can be determined by following these indicators:
- Visual Inspection: The outer edges of the cheesecake should appear set, while the center should jiggle like Jell-o when you gently shake the pan. It should not look liquid or runny in the middle.
- Baking Time: Follow and trust the suggested baking time provided in your recipe as a general guideline. However, it’s essential to consider that baking times can vary based on oven temperature accuracy and the size/thickness of your cheesecake.
Remember that cheesecakes continue to set as they cool. It’s normal for them to appear slightly underdone in the center while still in the oven. Once the cheesecake has had the proper amount of time to cool in the fridge it will become set and firm. So just know that even the final look of the cheesecake in the oven will not be the final texture of the cheesecake once it’s completely cooled down.
If you’re like me and like to see visual examples, check out my video about How to know when your cheesecake is done baking!
How long do you let cheesecake cool before removing it from the pan?
After baking a cheesecake, it’s crucial to let it cool before removing it from the pan to prevent it from falling apart or losing its shape. The cooling process allows the cheesecake to firm up and set properly. Here are the general guidelines for cooling a cheesecake:
- Don’t immediately remove the cheesecake from the oven: once the cheesecake is done baking, turn the oven off and let the cheesecake slowly cool down while the oven is cooling down. I have found that this step is CRUCIAL for getting a perfectly flat cheesecake with NO CRACKS on top!
- Cooling at Room Temperature: Once the cheesecake is out of the oven, let it cool at room temperature in the water bath for about 1-2 hours. This gradual cooling allows the cheesecake to settle and prevents sudden temperature changes that could lead to cracks or other issues.
- Refrigeration: After the initial cooling at room temperature, transfer the cheesecake to the refrigerator to chill for an additional 4 to 6 hours or, preferably, overnight. This extended chilling time helps the cheesecake fully set and develop its desired texture.
PROPERLY REMOVING THE CHEESECAKE FROM THE PAN:
Removing the Cheesecake: Once the cheesecake has chilled, it is ready to be removed from the pan. If you’re using a springform pan and the foil method, follow these directions:
- carefully release the sides by gently unlatching the springform mechanism.
- Push the bottom of the pan up and through the sides of the spring form pan. Set that part of the springform pan aside.
- Then place a large plate/ serving platter on top of the cheesecake, invert the cheesecake while holding the plate.
- Remove the bottom of the pan to release the cheesecake, and it should come out easily.
- Finally remove the layer of foil off the bottom of the cheesecake, invert it back so the top of the cheesecake is facing up, and place the cheesecake on desired serving platter.
Remember, cheesecakes are delicate, so handle them with care during the removal process to maintain their shape. Once removed, you can proceed to garnish, slice, and serve your beautifully cooled cheesecake.


Gluten Free Chocolate Cheesecake
Equipment
- Electric mixer w/ paddle attachment
- Rubber spatula
- Mixing bowls
- Measuring Cups & Spoons
- Liquid Measuring Cup
- Food Processor (or Ziploc Bag + Rolling Pin)
- 6in Spring Form Pan
- Tin Foil
Ingredients
Gluten Free Oreo Crust
- 1 c. (150g or 14 Cookies) Gluten Free Oreo's
- 2 tbsp. (28g) Butter unsalted, melted
Chocolate Cheesecake
- 1 1/2 c. (340g or 12 oz.) Cream Cheese softened
- 3/4 c. (178g) Granulated Sugar
- Pinch Salt
- 2 tbsp. (16g) Cocoa Powder Dutch Processed
- 1/2 tsp. (1g) Espresso Powder optional
- 1 Egg whole
- 1 Egg yolk
- 1 tsp. (5g) Vanilla Extract
- 3/4 c. (160g) Heavy Cream
- 1 c. (177g) Dark Chocolate (60% Ghirardelli Dark Chocolate chips) melted
Dark Chocolate Ganache
- 1/4 c. (48g) Heavy Cream
- 1/4 c. (44g) Dark Chocolate Chips
Vanilla Bean Whipped Cream
- 3/4 c. (150g) Heavy Cream
- 1/4 c. (30g) Powdered Sugar
- 1 tsp. (4g) Meringue Powder
- 1 tsp. (6g) Vanilla Bean Paste (or Vanilla Extract)
Instructions
Gluten Free Oreo Crust
- Preheat the oven to 350°F and prep your cheesecake pan with tin foil and baking spray (see above section in the blog for how to do this).
- In a food processor (or blender) crush the Oreos until they become fine crumbs. If you don’t have a food processor you can also do this by placing the cookies in a ziploc bag and crush the cookies with a rolling pin.
- Place the cookie crumbs into a mixing bowl, add the melted butter and mix together until the mixture resembles wet sand.
- Press the crust into the prepped spring form pan and place in the oven.
- Bake the crust for 12-15 minutes. Let the crust cool completely before adding the cheesecake batter.
Chocolate Cheesecake
- Lower the oven temperature to 300°F.
- In the bowl of a stand mixer, beat the softened cream cheese on a low speed until completely smooth and until no lumps remain. Scrape down the sides of the bowl frequently to ensure that there are no lumps in the cream cheese.
- Next, add the sugar and pinch of salt, mix on a low speed until completely mixed in. Scrape down the sides of the bowl.
- Add the cocoa powder and mix on a low speed until combined. Scrape down the sides of the bowl.
- Add the egg, egg yolk, and the vanilla extract, mix until combined on a low speed. Scrape down the sides of the bowl.
- While the mixer is on a low speed, gradually pour in the melted chocolate. Once all the melted chocolate has been added, scrape down the sides of the bowl. Continue mixing on a low speed until all the chocolate has been thoroughly mixed in.
- Once all the chocolate has been added, with the mixer on a low speed gradually pour in the heavy cream. Once all the heavy cream has been added continue to mix until all the heavy cream has been mixed in. Scrape down the sides of the bowl and mix on low speed one more time to ensure that everything has been mixed together.
- Pour the cheesecake batter into the spring form pan with the baked and cooled crust.
- Place the cheesecake in a slightly larger cake pan and place that in the oven.
- Next, add water to the slightly larger cake pan until the water level reaches about halfway up the cheesecake pan.
- Bake in the oven for 1 hour to 1 hour and 10 minutes.
- After baking, do NOT open the oven door, turn the oven off and leave the cheesecake inside the oven for 3 hours.
- After 3 hours, pull the cheesecake out of the oven but leave it in the water bath set out on the counter for 30 minutes.
- After cooling on the counter for 30 minutes, place in the fridge to continue cooling overnight to completely set up.
- Next day, un-pan the cheesecake and top with ganache and whipped cream (if desired) and enjoy!!
Chocolate Ganache
- Place the chocolate chips in a heat safe bowl and set aside.
- Heat up the heavy cream in the microwave, in 15-30 second increments until its hot.
- Pour the hot heavy cream over the chocolate chips and gently stir together until the chocolate chips are completely melted and the mixture is completely smooth.
- Pour the ganache over top of cheesecake.
- Place the cheesecake in the fridge to allow the ganache to set.
Vanilla Bean Whipped Cream
- Place all the ingredients into the bowl of a stand mixer fitted with the whisk attachment.
- Whisk the ingredients together on a medium speed until all of the ingredients are mixed together.
- Then, turn the mixer up to a high speed and whip until the whipped cream forms medium peaks. (when you lift the whisk attachment, a semi sturdy peak should form on the whisk. It should hold its shape and appear soft but not be completely firm/curdled.)
- Next, spread or pipe the whipped cream onto the cheesecake!